Overnight Sourdough Focaccia with Rosemary
Bread · Weekend Challenge · Hosting Menu · Vegan · Dairy-Free · Nut-Free · Egg-Free · Time: 17–26 hr · Servings: 16 · Difficulty: Medium
I always love making bread; to me, it’s like magic. Watching flour, water, and starter transform into something alive never fails to amaze me. And then there’s the scent: that warm, toasty aroma that fills the kitchen and lingers through the whole home. It’s comfort in its purest form.
Last year, while preparing for IVF, I found out I was borderline insulin resistant. That news pushed me to look at the foods I love with fresh eyes. Instead of giving them up completely (and trust me, focaccia is not something I could give up!), I decided to adapt my recipes so they’re kinder to my body. That’s how this rosemary focaccia was born, made with sourdough instead of commercial yeast.
Why sourdough? The slow fermentation gives bread a lower glycemic impact, meaning it won’t spike blood sugar as quickly. The lactic acid produced during fermentation can also make nutrients easier to absorb and the bread easier to digest. For me, that means I can still enjoy a warm, olive oil kissed slice of focaccia, just in moderation, and feel good about it.
Of course, sourdough isn't the only thing that makes a great focaccia. One of the keys is the olive oil. It gives the bread its golden crust, rich flavor, and irresistible aroma. Using a high quality extra virgin olive oil makes all the difference. For this version, I used one from the Abruzzo region of Italy, which made the focaccia deeply savory, with a flavor that blooms and lingers in every bite.
The best part? This focaccia is almost effortless. The dough rests in the fridge overnight, and the next day all you need to do is let it rise, dimple, and bake. Most of the time is hands off, which makes it perfect for busy days when I still want something homemade.
Since I live in sunny Singapore, I usually only need about 2 hours for the final rise. Depending on your starter and the temperature of your kitchen, it may take up to 5 to 6 hours. Either way, it’s a forgiving recipe that rewards patience with golden, pillowy focaccia every time.
This recipe is simple, flavorful, and one I now bake often, both to nourish myself and to share with my husband. It reminds me that the foods we love don't always have to be left behind. Sometimes, they simply evolve with us.
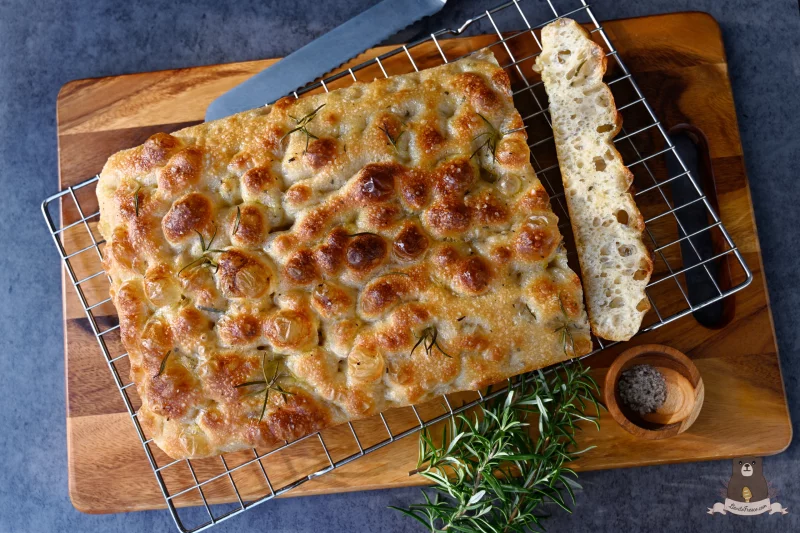
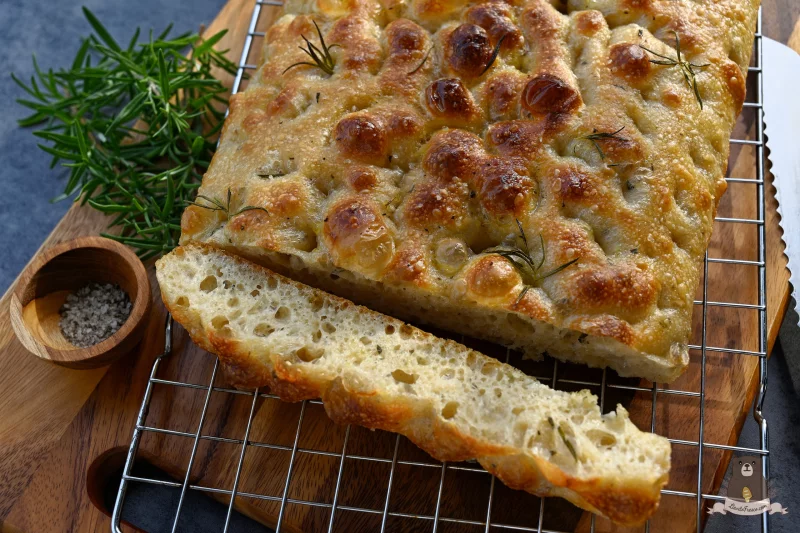
Why Sourdough Is Worth the Extra Time
One of the reasons I love baking sourdough is that the long fermentation process does more than just develop flavour. It also changes the dough in ways that can make the bread easier for your body to process and enjoy.
- Gentler on blood sugar: The slow fermentation helps lower the bread's glycemic impact, meaning it may not cause blood sugar levels to rise as quickly as some commercially produced breads.
- Easier to digest: During fermentation, the natural yeasts and bacteria begin breaking down some of the gluten and starches, which can make the finished loaf feel lighter and easier to digest.
- Better mineral availability: Fermentation helps reduce compounds that can interfere with mineral absorption, making nutrients such as magnesium, zinc, and iron more accessible to the body.
- Supports gut health: Although the live cultures don't survive the baking process, fermentation creates beneficial compounds that can help support a healthy gut environment.
While everyone's digestion and nutritional needs are different, these are some of the reasons many people enjoy incorporating naturally fermented sourdough into their routine
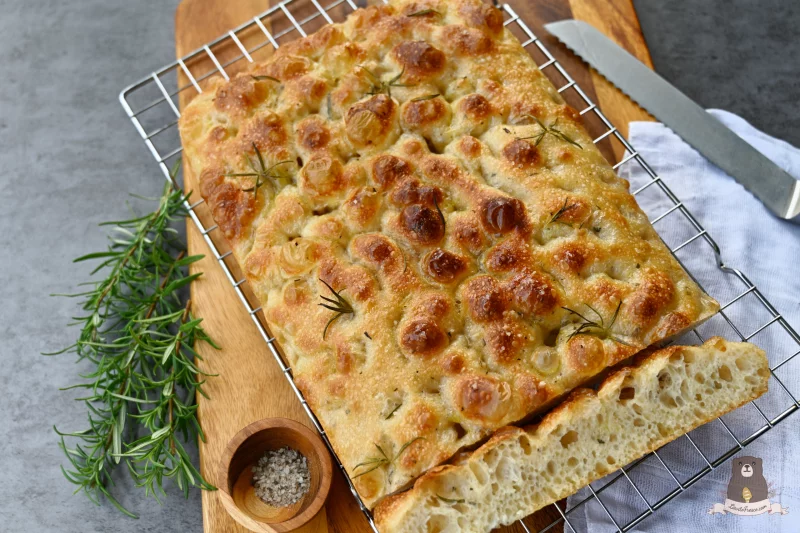
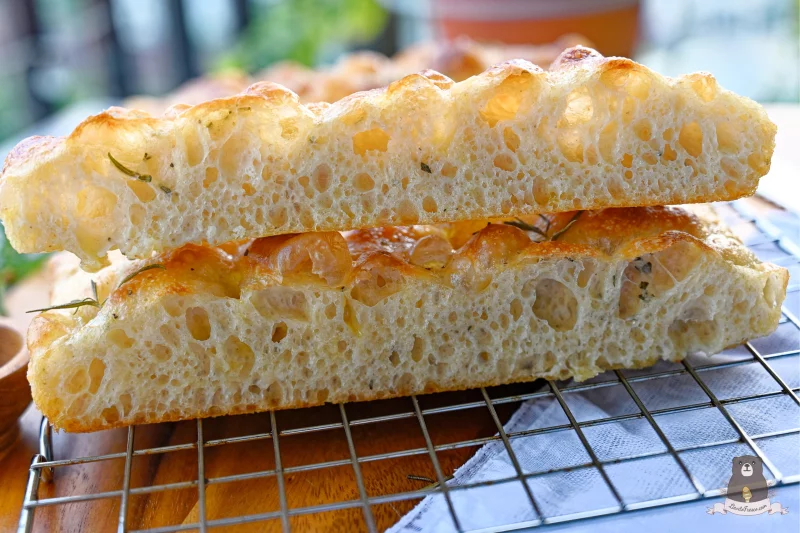
Ways to Enjoy Focaccia
Pesto Focaccia Sandwich
One of my absolute favourites! Slice the focaccia in half and spread each side generously with pesto. You can try the authentic Italian pesto that my husband and I developed with Grana Padano and Pecorino Romano, or my anti-inflammatory vegan pesto for a lighter option. Build it with tofu and arugula, roasted veggies, or even a slice of cheese like Emmental. Or keep it simple — just the pesto on warm focaccia is heavenly on its own.
Egg & Olive Oil Treat
Toast a slice of focaccia and top it with a soft-boiled or poached egg, a drizzle of olive oil, and a sprinkle of flaky salt. The airy sourdough crumb soaks up the yolk beautifully.
Seafood Pairing
Because of its tangy depth, sourdough focaccia pairs so well with seafood. Try serving it alongside grilled prawns, calamari, or even my Fettuccine allo Scoglio for a full Italian spread.
Dipping Tradition
Tear the focaccia into strips and dip it into extra virgin olive oil with a pinch of sea salt or balsamic vinegar. The sourdough’s natural tang makes even this simple ritual feel special.
Picnic Favourite
Cut into thick slabs, focaccia packs beautifully for picnics. Pair with fresh fruit, cheese, and a thermos of soup for a simple but memorable outdoor meal.
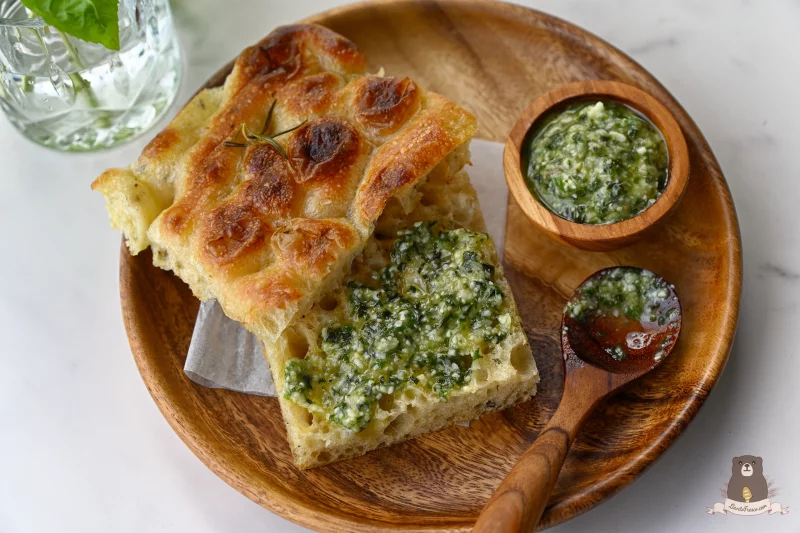
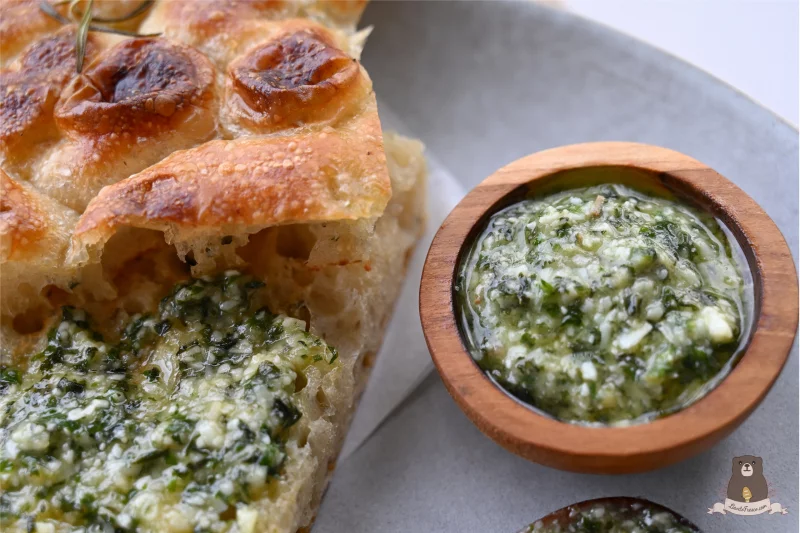
Storage & Reheating Tips
- Room Temperature: Focaccia is at its very best on the day it’s baked, when the crust is crisp and the crumb still warm and airy. If you do have leftovers, keep them in an airtight container or wrapped in parchment inside a bread bag. It stays soft for up to 2 days, though the crust will lose some of its crunch after the first day.
- Refrigerator (My Preferred Method): Personally, I like storing focaccia in the fridge. It keeps well and reheats beautifully. You can warm it in a panini maker for a quick and easy option, or reheat it on the stovetop by placing a slice in a pan with a small splash of water, covering it, and heating over medium heat for about 4½ minutes. This brings back a soft, warm interior while gently refreshing the crust.
- Reheating: To bring focaccia back to life, warm slices in a preheated 180°C (350°F) oven for 8–10 minutes until the edges crisp up again. For a quicker option, use a panini maker or sandwich press for a golden crust and warm, soft centre.
- Freezing (If You Must!): Honestly, we rarely get the chance to freeze this focaccia in our home because it disappears so quickly. But if you ever make a double batch, slice it into portions, wrap well, and freeze for up to 1 month. Reheat straight from frozen in a 180°C (350°F) oven for 12–15 minutes, or use a panini maker to crisp the crust while warming the inside.
Ingredients
- 500 g Bread Flour
- 425 g Water, room temp
- 100 g Active sourdough starter
- 11 g Fine sea salt
- 2 tbsp Extra Virgin Olive Oil (1 tbsp added after autolyse with salt & rosemary; 1 tbsp drizzled on before baking)
- 2 tsp Fresh Rosemary (finely chopped)
Directions
- Mix the dough (night before) In a large bowl, whisk the starter into the water until dissolved. Add the flour and stir until no dry bits remain. The dough will look shaggy and sticky.
- Autolyse Cover the bowl and let the dough rest for 30 minutes. This pause allows the flour to hydrate and gluten to start forming.
- Add salt,Olive oil & Rosemary Add salt and 1 teaspoon of water. Add it to the dough along with the 1 tbsp olive oil and fresh rosemary and . Pinch and squeeze the dough with your hands for about 1 minute until evenly incorporated. Perform one set of stretch-and-folds.
- Build strength Over the next hour, perform 2 to 3 more sets of stretch and folds (or coil folds), spacing them 20 to 30 minutes apart. Each fold helps the dough become smoother and more elastic. After the final fold, transfer the dough to a clean bowl or Pyrex dish, cover, and refrigerate overnight (12 to 18 hours). This cold ferment develops flavor and makes the dough easier to handle
- Prepare the Pan The next day, drizzle 1 tbsp olive oil into a 9×13 inch pan, coating the base and sides well. Transfer the cold dough straight from the fridge into the pan, and gently stretch it toward the corners. Don’t worry if it doesn’t reach all the way — it will relax as it rises. Cover and let it proof at room temperature for 2–4 hours (or up to 6 hours in cooler kitchens), until puffy and bubbly. Tip: the dough is ready when it jiggles like set jelly and has visible bubbles on the surface. ✨ Don’t worry if it doesn’t look dramatically risen — sourdough focaccia often does most of its magic in the oven.
- Toppings & Bake Preheat your oven to 220°C (425°F), top and bottom heat. Once the dough has fully proofed in the pan, drizzle a little more olive oil over the surface. Using your fingertips, gently dimple the dough all over, pressing down to create those signature pockets. Sprinkle with flaky salt and fresh rosemary. Optional (Abruzzo-style finish): In a small jar, mix 1 tablespoon of water with 1 tablespoon of olive oil. Lightly drizzle this mixture over the dough just before baking. This simple technique, common in Abruzzo (where we have our summer home), helps create an extra crispy, golden crust. Do note that this step can make the focaccia slightly more oily than usual. If you prefer a lighter finish, you can skip it. Bake for 30–35 minutes, until the top is golden and the underside is crisp and browned. For accuracy, check that the internal temp reaches 95°C (200°F). Cool in the pan for at least 10 minutes before slicing and serving.