Vanilla Crema Pasticcera (Italian Pastry Cream)
Desserts · Gifts from the Kitchen · Vegetarian · Nut-Free · Time: 15 min + chill time · Servings: 500g · Difficulty: Easy
Long before I was enjoying warm cornettos filled with freshly piped crema in Italy with my then-boyfriend, turned fiancé, now husband, I was already unknowingly in love with pastry cream. Whenever I visited hotel buffets in Singapore, I would always gravitate toward the tiny fruit tarts topped with kiwi, berries, and glossy fruit. But what I loved most was never the fruit—it was always the silky custard hidden underneath, often simply labelled as custard cream or pastry cream.
Years later, after spending time in Italy, I realised that the cream I had been enjoying all along was none other than crema pasticcera. From Bomboloni and crostate to cakes and pastries, it seemed to appear everywhere, and I quickly understood why. Smooth, silky, and scented with real vanilla 💛 it’s light enough to melt in your mouth, yet rich enough to stand out.
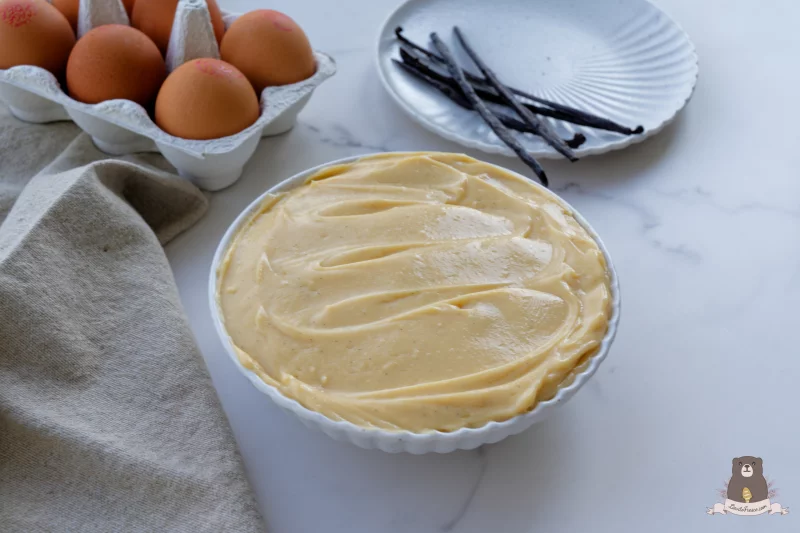
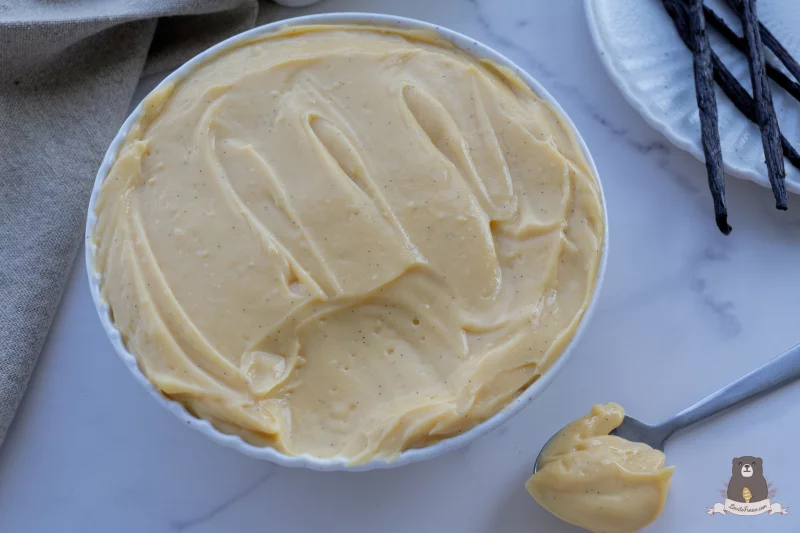
This version is slightly more structured than a looser, pouring custard. It’s designed to hold its shape when piped into crostata, Bomboloni, or Danish pastries, giving a clean, stable filling with that classic creamy bite.
If you prefer a softer, more flowing custard—the kind that gently oozes out of a fresh cornetto or Bombolone—simply remove the cornstarch, replace it with 40 g of all-purpose flour, and reduce the cooking time by about 2 minutes. This creates a looser, more spoonable cream.
Ways to Use Crema Pasticcera
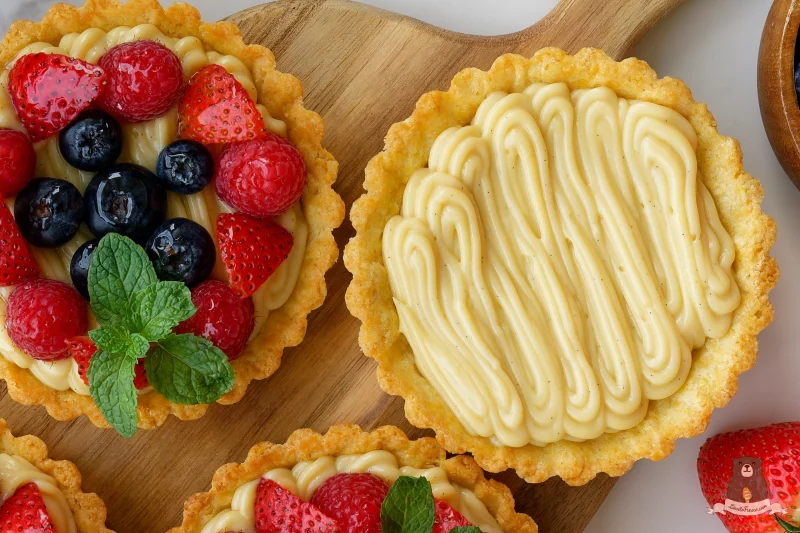
Whether I’m filling Bomboloni, lining a crostata, layering cakes, or spooning it generously into Danish pastries, crema pasticcera always brings a quiet elegance to dessert. It’s one of those creams that instantly elevates even the simplest bake, adding richness without ever feeling heavy.
I love infusing it with real vanilla bean—the kind that adds a gentle floral aroma and a layer of sophistication and indulgence. My friends often say that when they bite into a Bombolone, it smells almost like roses, lifted with a hint of lemon zest for brightness. It’s subtle, but it makes all the difference.
And yet, it’s endlessly adaptable. You can fold in coffee for a deeper, slightly bitter edge, add citrus for a fresher profile, or stir through a splash of liqueur for something more grown-up and aromatic.
It’s dessert comfort in a spoon, and a staple that quietly transforms everything it touches.

Storage & Before Using
After chilling, the custard will firm up significantly and may look almost like a soft jelly. This is completely normal—don’t worry.
Before using, whisk or stir until smooth and creamy again. For best results, use a stand mixer with a paddle attachment on medium speed for 3–4 minutes until it returns to a silky texture. Avoid over-whisking.
If you prefer a looser consistency (for cakes or softer fillings), add 1–2 teaspoons of fresh milk and gently mix until smooth.
This custard holds its shape beautifully, making it ideal for crostata, Bomboloni, and Danish pastries where a stable filling is needed.
Ingredients
- 2 egg Yolks
- 1 whole Egg
- 80 g Light Brown Sugar
- 20 g All purpose flour
- 20 g Cornstarch
- 400 ml Milk (whole or lactose free both work)
- 1 pod Vanilla bean (or 1 tsp vanilla extract)
- 0.5 zest Organic Lemon
Directions
- Warm the Milk <p>In a saucepan, combine the milk, vanilla seeds (and pod, if using), and lemon zest (optional but highly recommended). Heat over medium-low heat until steaming and small bubbles begin to form around the edges, about 75–80°C (167–176°F). Do not boil. Remove from the heat and let the flavours infuse for 5 minutes.</p>
- Whisk the Eggs <p>In a bowl, whisk together the egg yolks, whole egg, and sugar until pale and slightly thickened. Add the flour and cornstarch, then whisk until smooth and lump-free. If whisking by hand, this will take about 5–6 minutes. The mixture should be light in colour and creamy in texture.</p>
- Temper and Cook <p>Remove the vanilla pod (if using) and strain the milk through a fine-mesh sieve to remove the lemon zest.</p><p>Place the bowl with the egg mixture on a damp kitchen towel to keep it steady. While whisking constantly, slowly pour in about one-third of the warm milk to temper the eggs. Once incorporated, gradually whisk in the remaining milk until smooth.</p><p>Pour the mixture back into the saucepan and cook over low to medium heat, whisking constantly, until thick, smooth, and pudding-like, about 10 minutes. The custard should reach 82–85°C (180–185°F). Do not exceed 88–90°C, as the eggs may curdle or scramble.</p><p>If using vanilla extract instead of a vanilla bean, whisk it in off the heat at the end.</p>
- Chill <p>Transfer the custard to a bowl and cover the surface directly with cling film to prevent a skin from forming. Refrigerate for at least 2 hours, or until completely chilled and set.</p>
- Before Using (Restore Texture) <p>After chilling, the custard will firm up considerably and may resemble a soft jelly. This is completely normal, so don't worry.</p><p>To restore its smooth, creamy texture, whisk until silky again. If using a stand mixer, use the paddle attachment on speed 4 for 3–4 minutes. Do not over-whisk. Alternatively, whisk by hand until smooth and creamy.</p><p>This consistency is ideal for filling crostata, Danish pastries, and bomboloni, where a stable pastry cream is needed to hold its shape.</p><p>For cakes or softer fillings, whisk in 1–2 teaspoons of milk until the desired consistency is reached.</p>