Burnt Basque Cheesecake
Desserts · Gifts from the Kitchen · Hosting Menu · Vegetarian · Nut-Free · Time: 1 hr + chilling · Servings: 10 · Difficulty: Easy
The first time I tried Burnt Basque Cheesecake was in Barcelona, wandering through the quiet side streets just beyond La Rambla. I remember being drawn to its beautifully dark, caramelised top, and after the very first bite, I understood why it had become so famous. It was rich, creamy, and deeply flavourful, with the caramelised exterior balancing the sweetness perfectly.
As much as I enjoyed it, I found the centre a little softer than I personally prefer. It almost had a custard-like texture, and while I know many people love that style, I found myself wishing for just a little more structure.
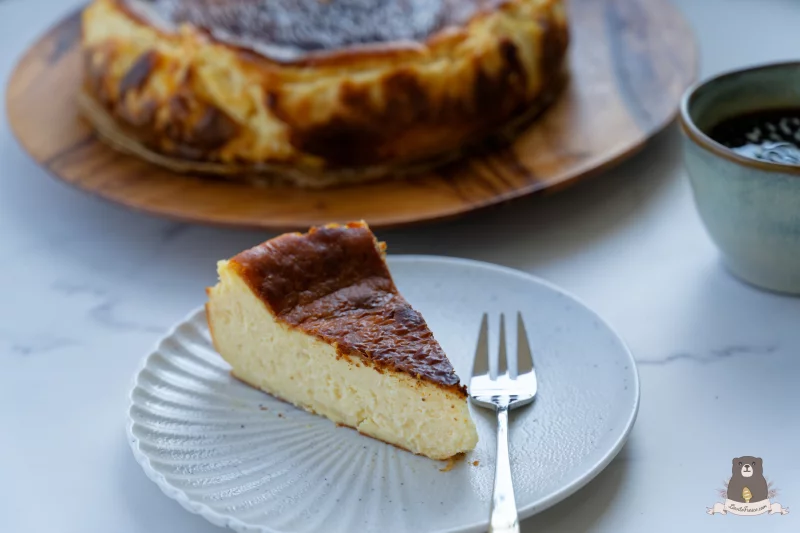
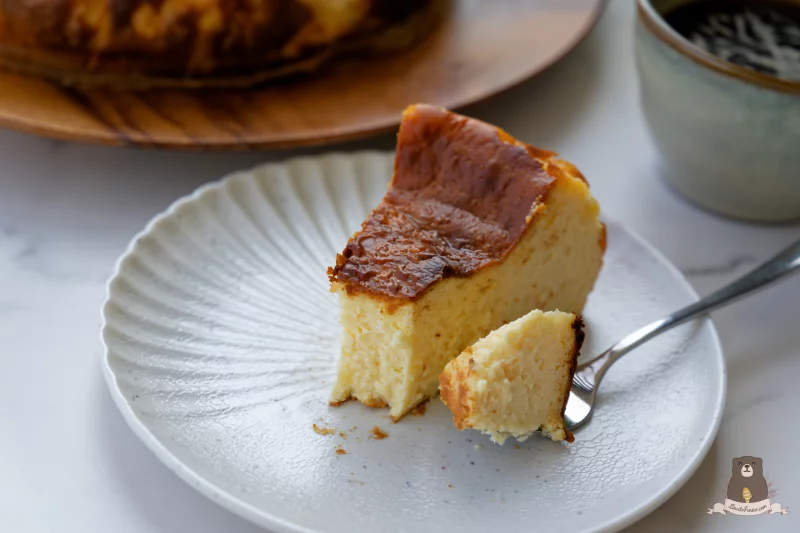
When I returned to Singapore, I couldn't stop thinking about it. Instead of recreating it exactly, I wanted to develop a version that suited my own taste. After several rounds of testing, this recipe became my favourite. It still has the signature burnt top and rich, velvety flavour that make Burnt Basque Cheesecake so special, but with a slightly firmer centre that slices beautifully while remaining wonderfully creamy.
One of the things I love most about this cheesecake is how forgiving it is. There's no water bath to prepare, no biscuit crust to make, and no need to worry about cracks. They're all part of its rustic charm. The deeply caramelised top isn't a mistake either; it's what gives the cheesecake its distinctive flavour and beautiful appearance.
If you love the ultra-creamy, almost molten centre often found in cafés around Barcelona, simply bake it for a few minutes less. If, like me, you prefer a cheesecake that slices neatly while still being silky and indulgent, follow my recommended baking time. Either way, I hope this recipe brings a little taste of Spain into your kitchen.
If you're looking for a dessert you can enjoy the very same day, my Apple Tarte Tatin recipe is another favourite. It's much quicker to make than this cheesecake, with buttery caramel, tender apples, and crisp pastry that's perfect for sharing.
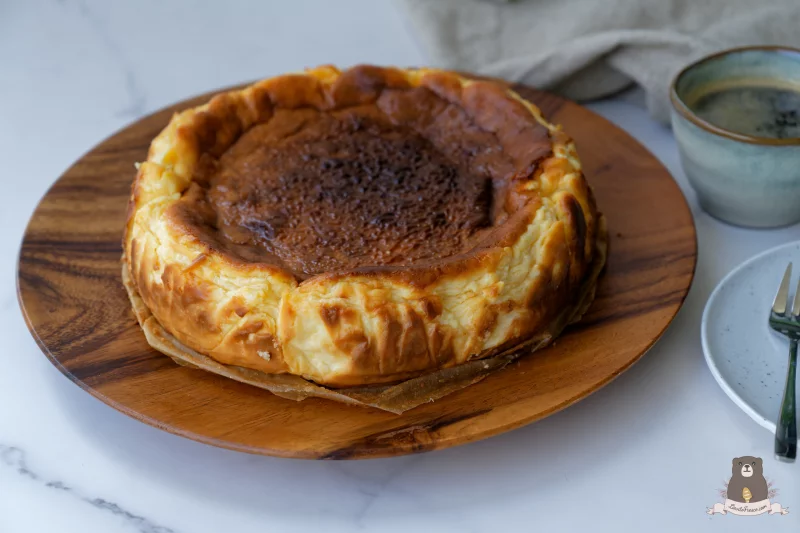
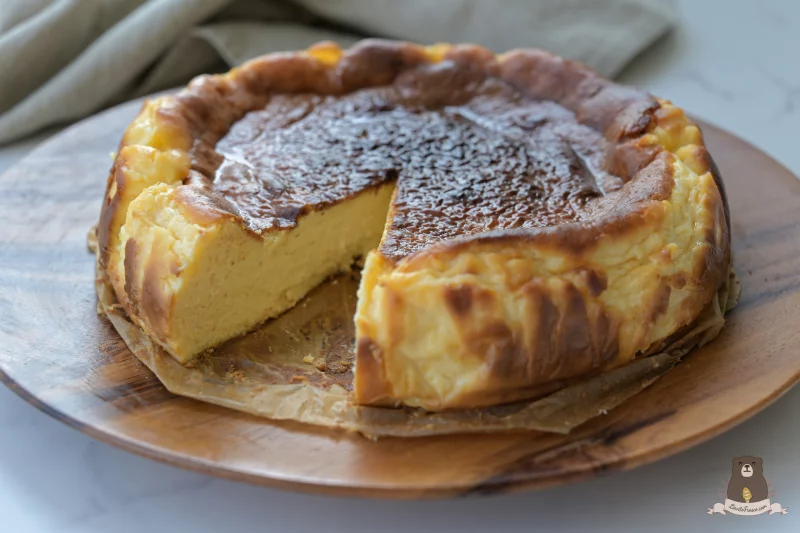
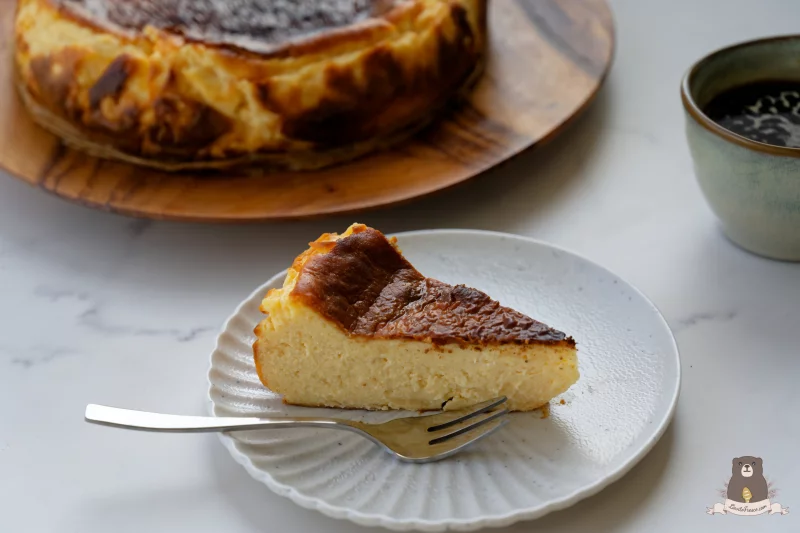
What Is Burnt Basque Cheesecake?
Burnt Basque Cheesecake, also known as San Sebastián Cheesecake, was created in the late 1980s at the famous La Viña restaurant in San Sebastián, a beautiful coastal city in Spain's Basque Country. Unlike traditional cheesecakes, it has no biscuit crust and doesn't require a water bath. Instead, it's baked at a high temperature, creating its signature deeply caramelised top while keeping the centre irresistibly creamy and silky.
One of the things I found fascinating while travelling through Spain was how passionately each region celebrates its local ingredients. The Basque Country is famous for Idiazabal, a traditional sheep's milk cheese with a rich, nutty flavour that can also have a gentle smokiness when it's wood-smoked. While the original La Viña recipe is made with cream cheese, many chefs throughout the Basque Country have created their own interpretations by incorporating local cheeses like Idiazabal to add another layer of flavour.
Whether you enjoy the classic version or a modern twist, the beautifully burnt top, rustic appearance, and luscious creamy centre are what make Burnt Basque Cheesecake one of Spain's most iconic desserts.
Why You'll Love This Recipe
This Burnt Basque Cheesecake combines everything I love about the classic dessert with a texture you can easily customise to your own preference. It has a beautifully caramelized top, a rich and velvety filling, and just the right balance of sweetness and creaminess. Unlike traditional baked cheesecakes, there's no need for a water bath or worrying about cracks—the rustic appearance is part of its charm. Made with just a handful of everyday ingredients, it's surprisingly simple to prepare yet elegant enough for celebrations, dinner parties, or whenever you're craving a bakery-quality dessert at home.
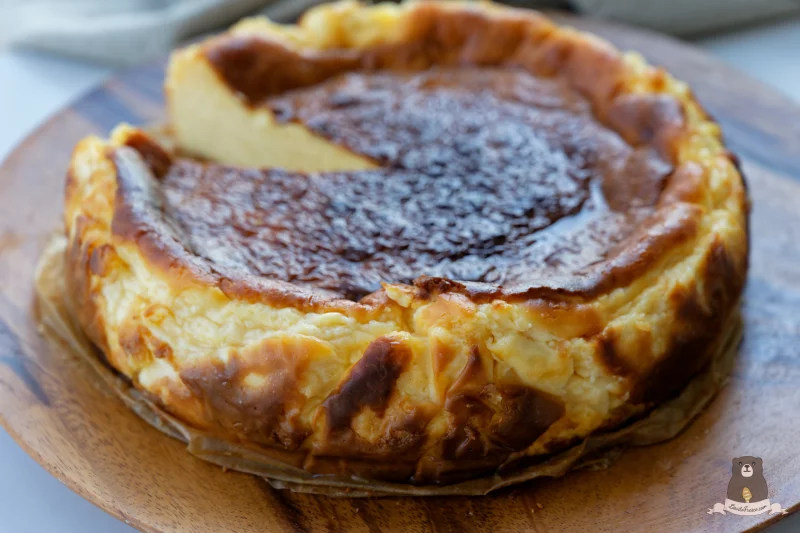
Complete the Meal
If you're planning a Mediterranean-inspired lunch, pair this Burnt Basque Cheesecake with my Linguine allo Scoglio recipe. This classic Italian seafood pasta lets the freshness of the shellfish shine, creating a light and elegant contrast to the rich, creamy cheesecake. Together, they make the perfect ending to a leisurely weekend lunch shared with family and friends.Ingredients You'll Need
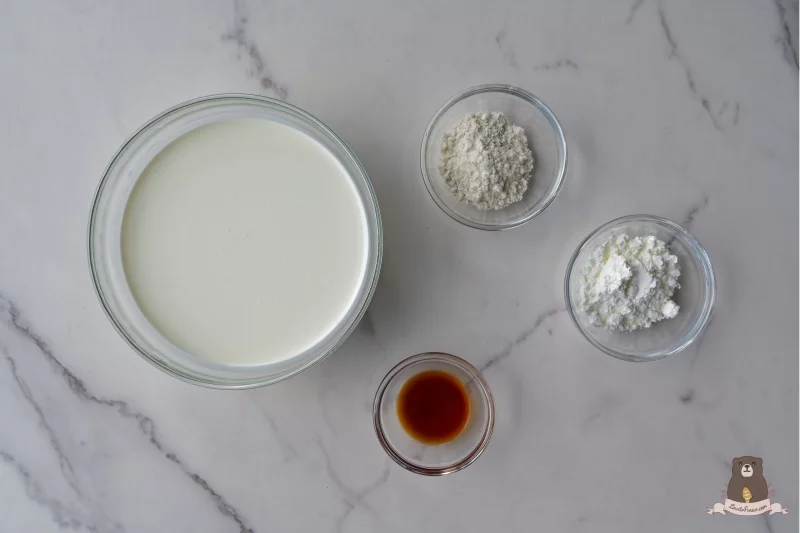
One of the reasons I love making Burnt Basque Cheesecake is how surprisingly simple the ingredient list is. With just a handful of everyday ingredients, you can create a rich, creamy cheesecake with its signature caramelised top. Because there are so few ingredients, using good-quality cream cheese, fresh eggs, and pure vanilla extract makes a noticeable difference in both flavour and texture. For the smoothest batter, allow the cream cheese, eggs, and whipping cream to come to room temperature before mixing, as they'll combine more easily and help prevent lumps.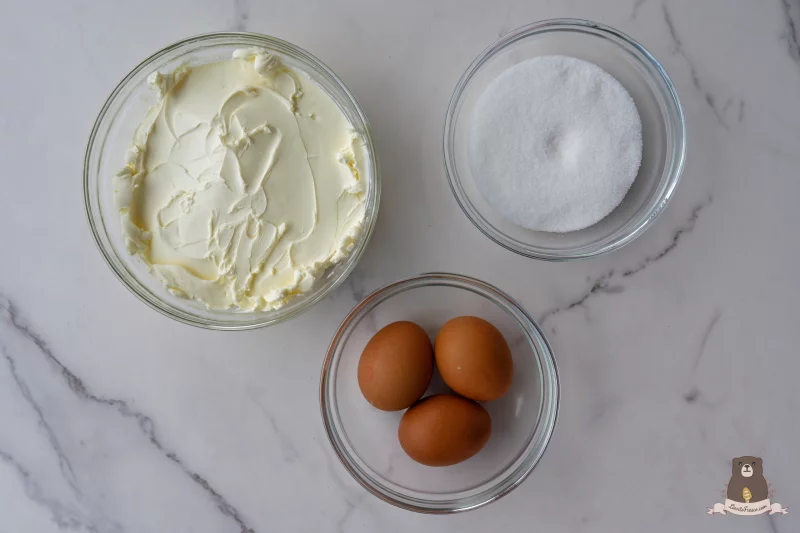
Storage
Store the cheesecake covered in the refrigerator for up to 4 days. For the best flavour and texture, let it sit at room temperature for 15–20 minutes before serving.
To freeze, allow the cheesecake to chill completely before slicing it into individual portions. Wrap each slice tightly in plastic wrap and place them in an airtight container or freezer-safe bag. Freeze for up to 2 months. When ready to enjoy, thaw the slices overnight in the refrigerator or at room temperature for 30–60 minutes before serving.
Common Questions
Why is my Burnt Basque Cheesecake still jiggly in the centre? A slight jiggle in the centre is exactly what you're looking for. The cheesecake will continue to set as it cools and will firm up further after chilling in the refrigerator.Why didn't my cheesecake burn on top? Every oven is different. If the top isn't deeply caramelized by the end of the baking time, continue baking for a few more minutes until it develops its signature dark brown colour. If needed, you can briefly switch to the broil (grill) setting while keeping a close eye on it.
Can I make this cheesecake ahead of time? Yes! In fact, it's even better the next day. Chilling the cheesecake overnight allows the flavour to develop and gives it the best texture.
Can I freeze Burnt Basque Cheesecake? Absolutely. Once the cheesecake has chilled completely, slice it into individual portions, wrap each slice tightly, and freeze for up to 2 months. Thaw overnight in the refrigerator or at room temperature for 30–60 minutes before serving.
Why did my cheesecake crack? Small cracks are completely normal and are part of the rustic charm of Burnt Basque Cheesecake. Unlike traditional cheesecakes, this style is meant to have an imperfect, beautifully caramelized appearance.
Can I use a different size cake pan? Yes. This recipe is designed for a 9-inch (23 cm) round cake pan. Using a smaller pan will produce a taller cheesecake and may require a slightly longer baking time, while a larger pan will result in a thinner cheesecake that bakes more quickly.
Do I need a water bath? No. One of the best things about Burnt Basque Cheesecake is that it doesn't require a water bath. The high baking temperature creates its signature caramelized top without the extra step.
Ingredients
- 600 g Cream Cheese, room temperature
- 160 g Caster Sugar
- 2 g Fine Sea Salt
- 3 whole Eggs (about 150 g without shells)
- 560 ml Whipping cream
- 15 g All Purpose Flour
- 20 g Cornstarch
- 8 g Vanilla Extract
Directions
- Prepare the Pan <p class="isSelectedEnd">Preheat oven to <strong>200°C (392°F)</strong>.</p><p>Line a <strong>9-inch round cake pan</strong> with two layers of parchment paper, ensuring it extends past the rim to help support the cheesecake as it rises.</p>
- Mix the Cream Cheese & Sugar <p class="isSelectedEnd">In a large bowl or the bowl of a KitchenAid mixer, beat the softened cream cheese, caster sugar, and fine sea salt until smooth, creamy, and completely lump-free.</p>
- Add the Eggs Add eggs one at a time, mixing well after each addition.
- Stir in Cream & Vanilla Pour in the whipping cream and vanilla. Mix gently until fully combined.
- Fold in the Flour <p class="isSelectedEnd">Sift in the all-purpose flour and cornstarch, then fold gently until just incorporated.</p><p>Do not overmix to keep the texture light.</p>
- Bake <p class="isSelectedEnd">Pour the batter into the lined pan. Gently tap the pan on the counter a few times to help the batter settle evenly and fill all the creases of the baking paper.</p><p class="isSelectedEnd">Bake until the top is dark golden brown and the centre still has a slight jiggle.</p><p>See the <strong>Texture Guide</strong> below to bake the cheesecake to your preferred consistency.</p><p>Texture Guide: </p><p class="isSelectedEnd">Every oven bakes a little differently, so use the baking times below as a guide. The cheesecake should still have a gentle wobble in the centre when you remove it from the oven, as it will continue to set while cooling.</p><p class="isSelectedEnd"><strong>40–43 minutes</strong><br>Soft, molten centre with a custard-like consistency. Best enjoyed with a spoon rather than sliced.</p><p class="isSelectedEnd"><strong>45–48 minutes</strong><br>Creamy, soft-set centre with lightly set edges. A wonderful balance between silky and sliceable.</p><p><strong>50–55 minutes</strong><br>Fully set centre with a rich, velvety texture that slices cleanly while remaining wonderfully creamy.</p>
- Cool & Chill Let the cheesecake cool fully in the pan at room temperature. Then transfer to the fridge and chill for at least <strong>4 hours</strong>, or overnight for the best texture.
- Serve Slice and serve chilled or at room temperature. Enjoy as is—or with a warm drink for a cozy afternoon treat.