Homemade Fresh Pasta
Main Dish · Weekend Challenge · Vegetarian · Dairy-Free · Nut-Free · Time: 45 min · Servings: 4 · Difficulty: Medium
There's something incredibly satisfying about making fresh pasta from scratch. With just a handful of simple ingredients, you can create silky ribbons of fettuccine, delicate ravioli, hearty pappardelle, or perfectly thin lasagne sheets that cook in just minutes. It's one of those timeless kitchen skills that feels wonderfully rewarding, and once you've mastered a basic pasta dough, an entire world of homemade pasta opens up.
I learned how to make pasta the proper way from some of the most wonderful nonnas I met during a pasta-making class in Bologna nearly eight years ago. Their hands moved with remarkable confidence, mixing flour and eggs directly on the wooden workbench without scales or measuring spoons. They relied on touch, sight, and instinct, adjusting the dough almost without thinking. Watching generations of tradition come alive through such simple movements was one of the highlights of our time in Italy, and it's a memory that has stayed with me ever since.
Back at home, I now use my KitchenAid to make the process quicker and a little less messy, especially when preparing larger batches. But the heart of the recipe hasn't changed. The goal is always the same: a smooth, elastic dough that's easy to roll, easy to shape, and beautifully tender once cooked.
This is the pasta dough I come back to again and again. We most often turn it into fresh fettuccine to pair with rich ragù, creamy mushroom sauces, or a simple butter and sage sauce, but it's just as perfect for spaghetti, linguine, tagliatelle, pappardelle, lasagne sheets, tortellini, ravioli, and countless other pasta shapes. It's a wonderfully versatile recipe that deserves a permanent place in every home cook's repertoire.
Once you make your own pasta, it's surprisingly difficult to return to the dried version. The texture is softer yet more delicate, the flavour is richer, and every meal feels just a little more special. There is something deeply comforting about rolling out fresh pasta by hand, dusting it lightly with flour, and sharing a meal made entirely from scratch. It's a tradition that has been passed down through generations of Italian families, and one I'm always grateful to bring into our own kitchen.
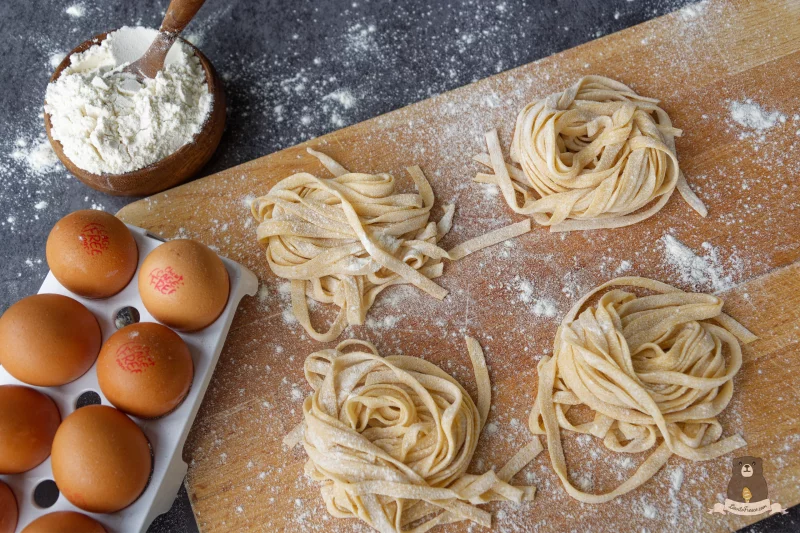
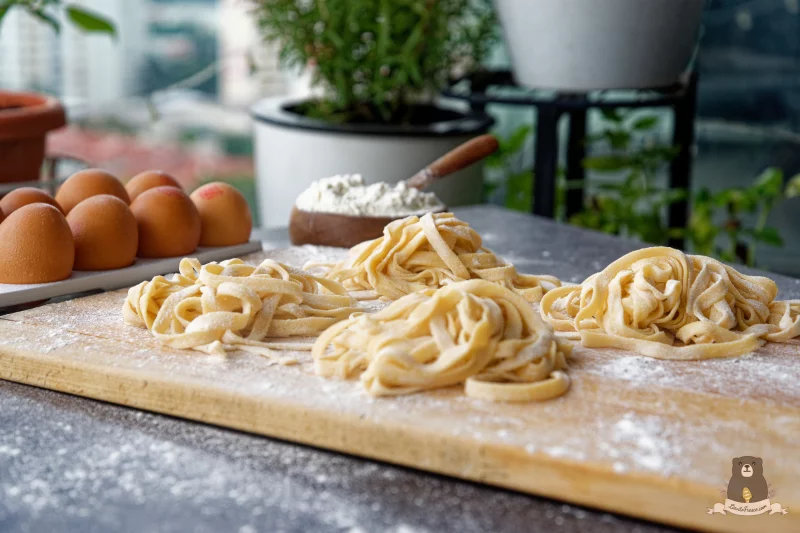
Why This Recipe Works
One of the things I love most about this pasta dough is its simplicity. Traditional fresh pasta doesn't rely on complicated ingredients or special techniques. Instead, it's all about finding the right balance between flour and eggs to create a dough that's smooth, elastic, and easy to work with. Whether you're rolling it by hand or using a pasta machine, this recipe produces tender pasta with just the right amount of bite, making it a reliable foundation for countless homemade dishes.Choosing the Right Flour
With so few ingredients, the flour you choose plays an important role in the texture of your pasta. Traditional fresh egg pasta from Emilia-Romagna is made with finely milled Italian "00" flour, which creates an exceptionally smooth, silky dough that's easy to roll and produces delicate, tender pasta with a beautiful bite. If you can't find it, plain or all-purpose flour is an excellent alternative and still makes wonderful fresh pasta at home. While some modern recipes combine "00" flour with semolina for a slightly firmer texture, this classic egg pasta dough uses only "00" flour, just as I first learned in Bologna.Ingredients
- 300 g Italian "00" flour, Italian "00" flour (or all-purpose flour)
- 3 whole Cage Free Eggs
Directions
- Form the Flour Well Pour the flour onto a clean work surface and shape it into a mound. Using the base of a bowl, gently press into the center to create a wide, sturdy well—this helps keep the eggs contained as you begin mixing.
- Add the Eggs Crack the eggs into the well. Using a fork, gently whisk the eggs, slowly incorporating flour from the inner edges. Take your time—this helps keep everything contained and controlled.
- Bring the Dough Together Once the mixture thickens into a paste, use your hands to bring it together into a rough dough. It may feel slightly shaggy at first—that’s exactly how it should be.
- Knead the Dough Knead for about 6-8 minutes until the dough becomes: Smooth, Elastic and firm but supple. Use the heel of your palm to push forward, fold back, and repeat. If the dough feels dry or stiff, keep kneading—it will come together as the flour fully hydrates from the eggs.
- Rest the Dough Wrap in cling film or cover with a bowl. Let it rest in the fridge for 30 minutes. This step is essential for a relaxed, workable dough.
- Roll the Dough Divide the dough into 4 equal portions and keep the rest covered. Using a KitchenAid Pasta Attachment Attach the pasta roller (lasagne attachment) to your KitchenAid. Lightly flour your work surface, then take one portion of dough and gently flatten it into a rough rectangle—this helps it feed through the rollers more evenly. Set the machine to setting 1 and pass the dough through 2–3 times, folding it in half between each pass to help smooth and structure the dough. Continue rolling, gradually increasing the setting one level at a time, passing the dough through once or twice per level, until you reach your desired thickness: Setting 5–6 for fettuccine, linguine, or lasagne sheets Setting 4–5 for spaghetti
- Shaping the Pasta Once the pasta sheet is at the desired thickness, cut it into manageable lengths (about 8-10 inches). Lightly dust with flour before inserting into the appropriate KitchenAid pasta attachment (e.g., linguine or spaghetti cutter). Use one hand to support the pasta as it feeds through the attachment and another to hold the finished strands. Sprinkle with a small amount of flour to prevent sticking.
- Storing or Cooking the Pasta You can cook the pasta immediately or store it in the fridge for up to 2 days. To cook, bring a pot of water to a rolling boil and salt it generously, ideally with coarse salt. If coarse salt is not available, you can use whatever salt you have on hand. Boil fresh pasta for 3-5 minutes, tasting to check for doneness. Ideally, it should be al dente.