Pizza al Taglio (Roman-Style Pan Pizza)
Main Dish · Hosting Menu · Time: 2 hr 30 min · Servings: 6 · Difficulty: Easy
There’s nothing quite like grabbing a fresh slice of Pizza al Taglio while strolling through the streets of Rome. The crisp-yet-airy crust, the rich tomato sauce, and the simple yet flavorful toppings make it an unforgettable experience.
Truth be told—before my trip to Rome, I had never heard of or tried this type of pizza! One drizzly morning, I followed a herd of tourists, curiosity leading the way, and they brought me to Antico Forno Roscioli—a little piece of bread heaven. If you’re anything like me, with a deep love for all things bread and flour, stepping inside felt magical.
While there, I noticed people eagerly buying small rectangular slices of what looked like pizza. But in my head, pizza was supposed to be round—so why was everyone so excited about these squares? Hesitant and a little confused, I decided to try one anyway. And oh, I’m so glad I did! The crispy-yet-airy crust, the vibrant pomodoro, and the fresh mozzarella were a perfect harmony of flavors.
After that first bite, I knew I had to recreate that magic at home.
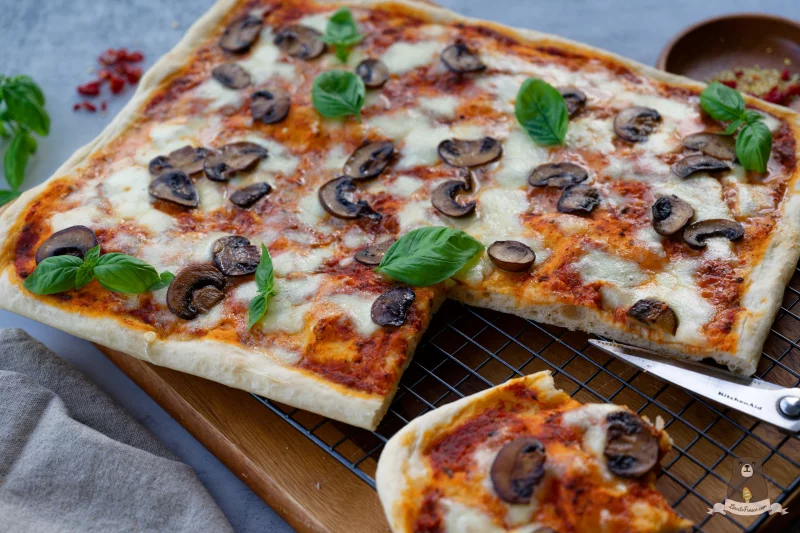
This homemade Pizza al Taglio is my take on the classic Roman-style pizza—baked in a sheet pan, with a light, crisp base and a deliciously chewy interior. It’s easy to make at home and perfect for slicing into squares to share (or keep all to yourself!). Whether you top it with classic Margherita flavors, potato and rosemary, or mortadella and stracciatella, this pizza brings a true taste of Rome into your own kitchen.
The best part? If you're new to making pizza from scratch, this is the perfect recipe to start with! No complicated shaping required—since it’s baked in a tray, the dough is incredibly forgiving. This recipe makes two trays of pizza, and I love to freeze one for later. To make sure the crust holds up well, I partially bake (parbake) the second tray for about 8-10 minutes at 230°C (450°F) before freezing. This gives it enough structure without fully cooking it. Then, when my husband and I are craving pizza, we simply thaw it for an hour, add the pomodoro and cheese, and bake for 10-12 minutes—saving ourselves from spending $60 on delivery!
Hope you love this recipe as much as we do!
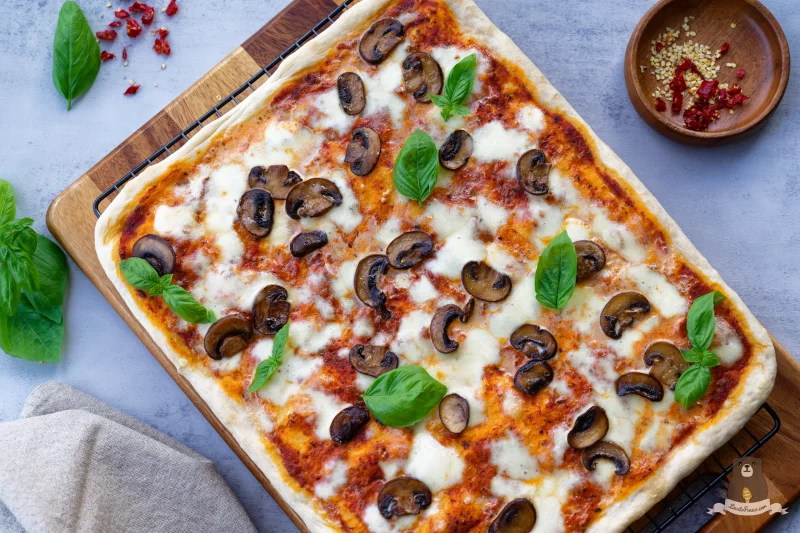
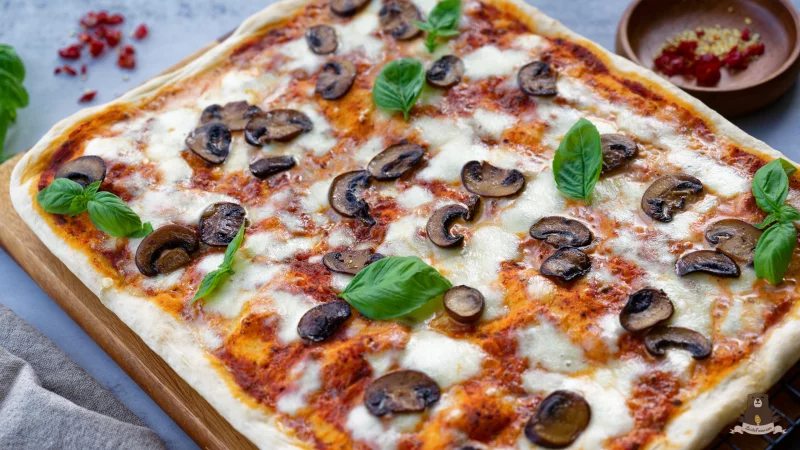
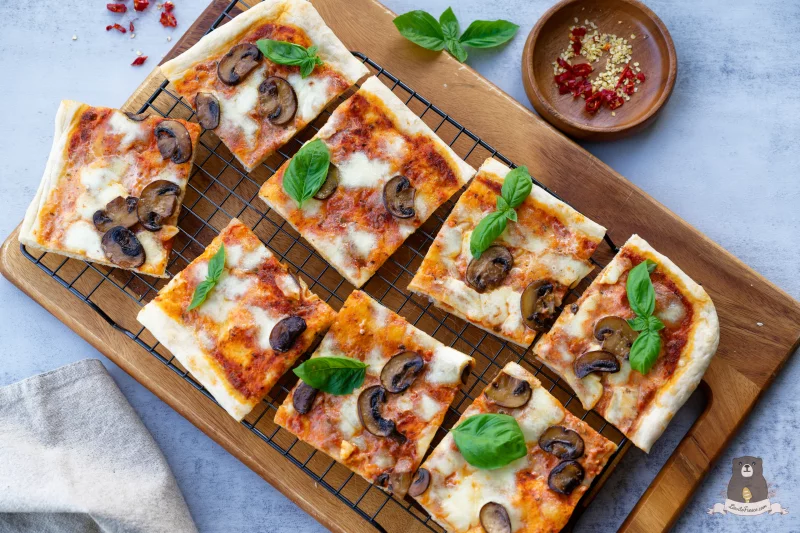
About the Ingredients
This dough begins with 00 flour — finely milled and incredibly soft, it’s what gives pizza its signature tender, delicate bite. Unlike heavier flours, 00 flour creates a smooth, extensible dough that stretches easily and bakes into a light crust with just the right balance of chew and softness.
To this, water is added at a 70% hydration level, which may feel loose and slightly sticky at first, but this is exactly what helps the dough transform during fermentation. That higher hydration is what creates those beautiful air pockets and an open, airy crumb once baked.
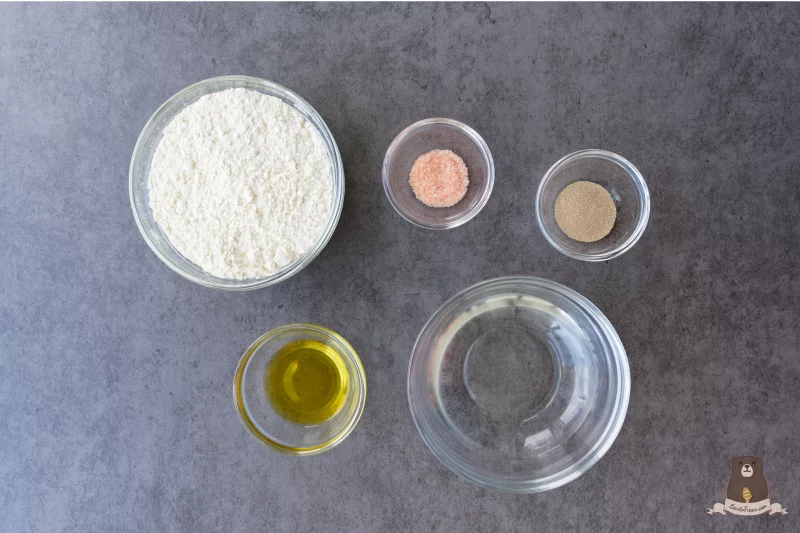
Strong structure still matters, so a touch of salt is added to season the dough and strengthen the gluten network, helping it hold shape without becoming dense. Instant yeast (or fresh yeast, if that’s what you have) quietly works in the background, slowly fermenting the dough and developing deeper flavour as it rises over time.
A small amount of olive oil is added to round everything out. It softens the dough just enough, making it easier to handle and giving the finished crust a subtle richness without weighing it down. Warm water, ideally around 38°C, brings everything together and gently activates the yeast so the dough can rise steadily and naturally.
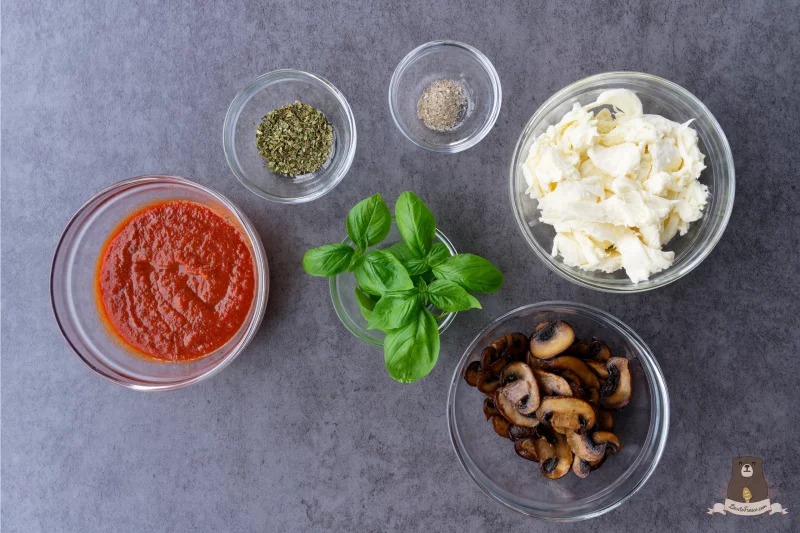
The toppings are kept intentionally simple. A seasoned tomato sauce — lightly balanced with oregano, salt, and black pepper — adds brightness and acidity without overpowering the base. On top, mozzarella melts into creamy, golden pockets. Fresh fior di latte keeps things light and clean, while shredded mozzarella offers a more classic, slightly richer finish. Either way, the focus stays on balance: a simple topping that lets the dough remain the quiet star.
Why do I have to add Extra Virgin Olive Oil?
A small amount of extra virgin olive oil isn’t essential, but it brings a subtle improvement to the dough. As it bakes, it helps the base develop a light crispness, especially where it meets the pan, while keeping the crumb soft and tender.
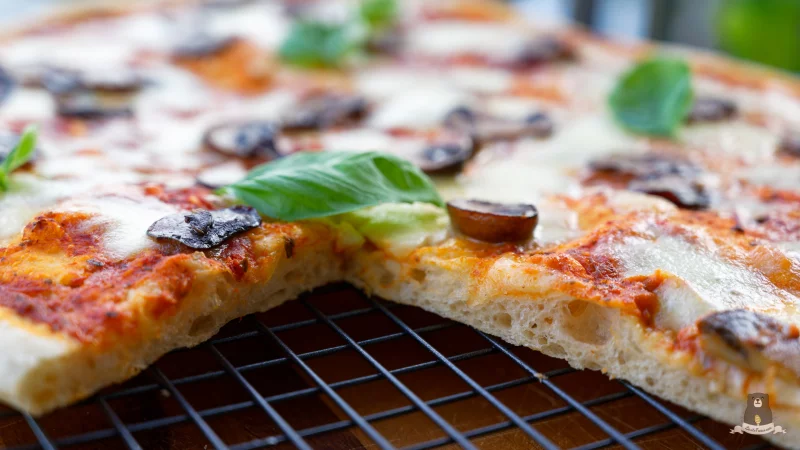
Olive oil also contributes to the open, airy texture that many home bakers love. It helps keep the crumb delicate and enjoyable to eat, allowing those beautiful fermentation pockets and irregular holes in the crust to shine through. These airy pockets are a sign of well-developed dough and good fermentation, giving each bite a light, pleasant texture rather than a dense one.
Used sparingly, it doesn’t change the character of the pizza—it simply refines it, enhancing both the texture and the overall eating experience.
Do I Need to Bloom My Yeast?
This is one of the most common questions when making homemade pizza. The answer depends on the type of yeast you’re using:
- Instant yeast (like what I use in this recipe): You do not need to bloom it first. Instant yeast can be mixed directly with the flour and salt, then hydrated with warm water. It activates quickly and is designed for direct incorporation.
- Active dry yeast (different from instant): Usually needs blooming. Dissolve it in warm water (about 38–40°C) with a pinch of sugar for 5–10 minutes, until foamy, before adding to the flour. When you bloom active dry yeast, you’re basically “waking it up” from its dormant state. Adding a small pinch of sugar (literally ½ tsp or less) gives the yeast an immediate food source, so it starts producing bubbles/foam faster. It’s a quick way to confirm that your yeast is alive and active. However, you don’t have to use sugar. If you don’t, the yeast will still activate as long as the water is warm enough (38–40 °C). It may just take a minute or two longer to show activity. So the sugar is really a proofing accelerator, not a strict requirement.
- Fresh yeast (your optional substitution, 2 tsp): Best practice is to crumble it into the warm water to dissolve before mixing with the flour, so it distributes evenly.
Ingredients
- 250 g 00 flour
- 5 g salt
- 3 g instant yeast
- 175 g lukewarm water (about 38°C)
- 10 g extra virgin olive oil
Directions
- Make the dough In a large bowl, combine the flour, salt, and yeast, then stir to distribute evenly. Add the warm water (around 38°C, so it doesn’t harm the yeast) and olive oil, mixing until a rough dough forms.
- Knead and rise Knead for 10–12 minutes, either by hand or using a dough hook, until smooth and elastic — the dough will remain slightly tacky. Once kneaded, scrape down the sides of the bowl; there’s no need to shape it perfectly. Cover and let rise at room temperature for 1.5–2 hours, or until doubled in size. In warmer climates like Singapore, this may take closer to 1½ hours, while cooler environments may require more time.
- Season the sauce Season the passata with ½ tsp oregano, a pinch of black pepper, and ¼ tsp salt, stirring to combine.
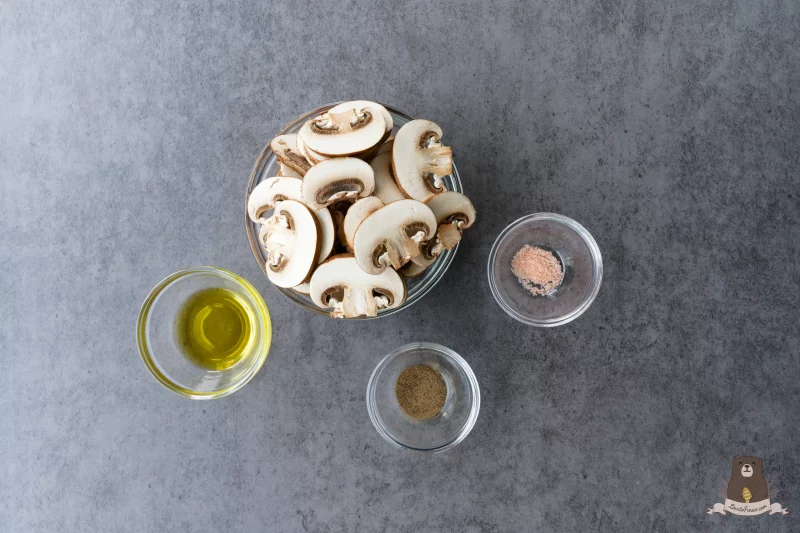
- Prepare the Mushrooms Heat 2 tsp olive oil in a non-stick pan over medium heat. Add the sliced mushrooms and cook for 15–20 minutes over medium heat, stirring occasionally, until they turn golden and release their moisture. Let the liquid fully evaporate—this is the point where the mushrooms begin to caramelise. Once the pan is dry, season with salt and pepper, then set aside.
- Shape & Second Rise Lightly oil one 30×40 cm baking tray with 1 tbsp olive oil. Gently stretch the dough into the tray. If it resists, let it rest 10 minutes, then stretch again. Cover loosely and let rise 30–45 minutes.
- Par-Bake the Dough Preheat oven to 230°C (450°F), top & bottom heat (no fan). Spread a thin layer of tomato passata (if using). Drizzle lightly with olive oil and sprinkle with a pinch of salt. Bake in the lower third of the oven for 10–12 minutes, until set but not fully browned. My oven only took 10 minutes because I also have an oven stone that contributed to the bottom of the pizza being really crispy.
- Add Toppings & Final Bake Remove from oven. Top with mozzarella and sautéed mushrooms (or toppings of choice). Return to the middle rack and bake 3–5 minutes, until cheese is melted and bubbly and the crust is golden.
- Serve Let the pizza rest for 5 minutes before slicing, if you can help it! —this helps the crust set and keeps the toppings in place for a better texture. Garnish with fresh Basil 💡 Cheese Tip For one tray (250 g flour base), 200 g shredded mozzarella is the sweet spot. It gives you plenty of melty coverage without weighing down the crust. If you prefer it cheesier, you can go up to 250 g, but expect a richer, heavier finish.