Sweet & Tart Black Plum Jam (No Pectin)
Breakfast · Gifts from the Kitchen · Vegan · Gluten-Free · Dairy-Free · Nut-Free · Egg-Free · Time: 1 hr 15 min · Servings: 4 jars · Difficulty: Easy
I've always found it funny how I rarely eat breakfast at home, yet the moment I'm on holiday, breakfast becomes my favourite meal of the day. There's something about wandering into a hotel dining room or a little café in the early morning, filling a plate with warm bread, good salted butter, and a small pot of jam. Somehow, it's often the simplest breakfasts that become the most memorable.
This recipe is a quiet tribute to those mornings, especially my first taste of real homemade jam in France. It wasn't overly sweet or perfectly smooth. Instead, it was full of soft pieces of fruit, a gentle tartness, and the kind of flavour that could only come from ripe seasonal produce. Served with fresh bread and butter, it reminded me that simple ingredients, prepared well, are often the most satisfying.
Back home in Singapore, I look forward to Australian plum season every year. From December through January, Australian plums are plentiful, beautifully ripe, and much more affordable, making it the perfect time to turn them into jam. My husband always buys them in bulk, knowing it's time for our annual jam-making tradition. I usually make this jam with a mix of black and red plums, which gives it a wonderful balance of sweetness, tartness, and colour.
Because fresh fruit is mostly imported and can be quite expensive throughout the rest of the year, we make the most of those few weeks while the plums are at their best. A small batch goes a surprisingly long way and, when prepared and sealed correctly in sterilised jars, the unopened jam can be stored for up to a year, letting us enjoy the flavours of plum season long after it has passed.
This homemade black plum jam keeps things simple with no pectin or preservatives. It uses just ripe plums, lemon, sugar, and a little water. I've also reduced the sugar compared to many traditional recipes, allowing the natural flavour of the fruit to shine through. It takes a little longer to cook, but the reward is a deep, glossy homemade plum jam with a rich, fruity flavour that feels right at home on any breakfast table.
We always keep a few jars tucked away in the pantry and set one aside to give as a gift, often alongside homemade bread or a jar of fresh pesto. It's one of those recipes that brings joy both in the making and in the sharing. If you're looking for the perfect bread to enjoy it with, try my Rustic No Knead Rye Bread with Sesame Crust for a hearty, nutty pairing, or my No Knead Artisan Bread for a classic crusty loaf that lets the flavour of the jam truly shine.
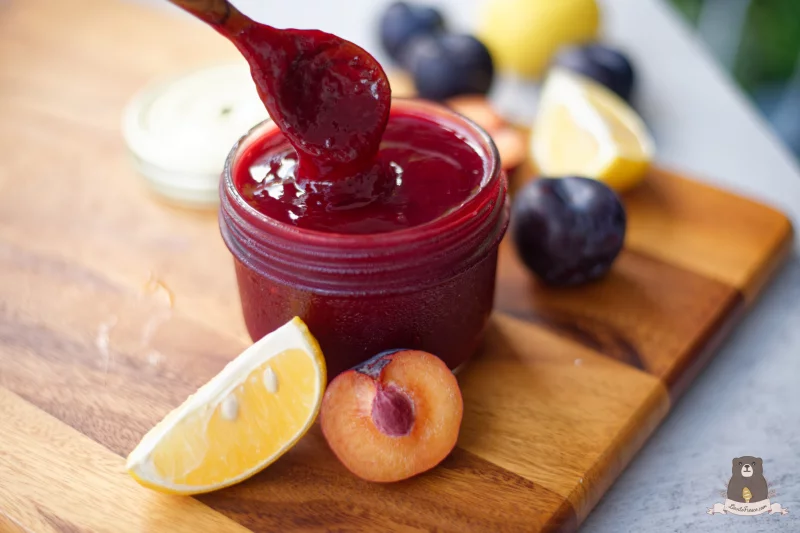
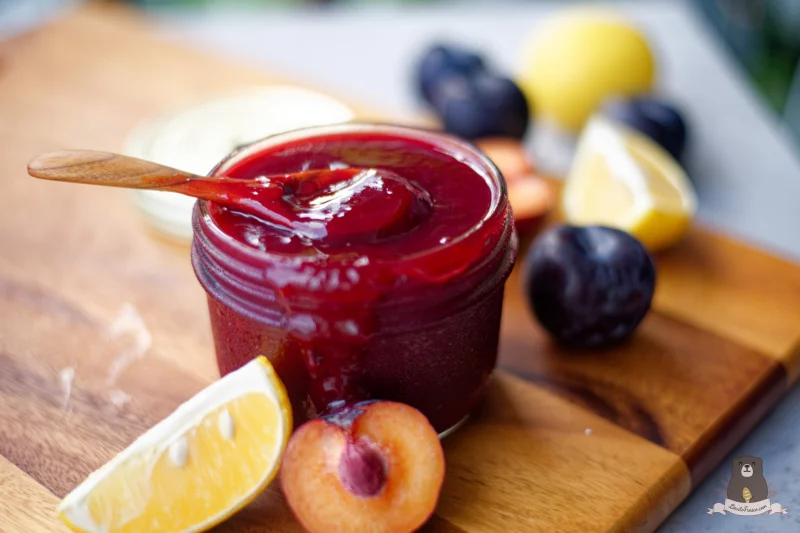
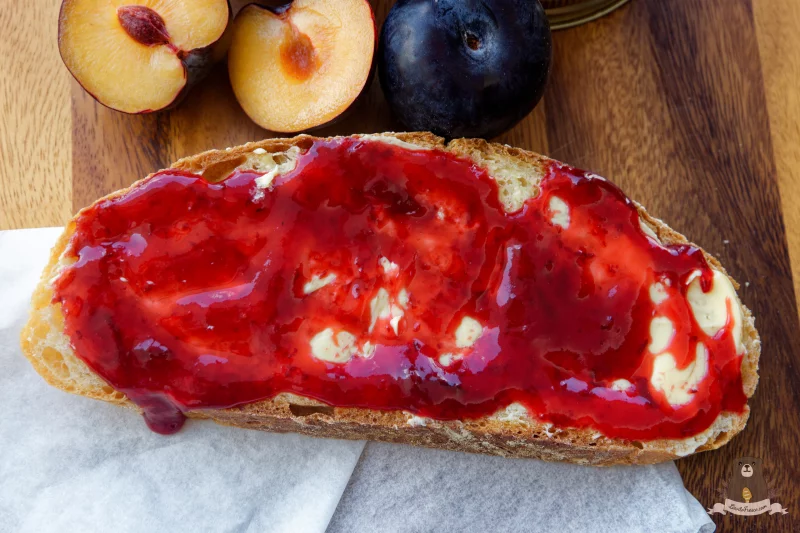
Why You'll Love This Plum Jam
Every plum season, this is one of the first recipes I make. It's simple, dependable, and lets the natural flavour of the fruit shine without relying on added pectin or excessive sugar.
As the plums slowly simmer, they naturally thicken into a rich, glossy jam with a beautifully balanced sweet and tart flavour. Whether you're preserving seasonal fruit, looking for a thoughtful homemade gift, or simply wanting something special to spread over warm toast, this is one of those recipes you'll find yourself making year after year.
If you enjoy homemade fruit preserves, you can click here for my full Blueberry Compote recipe. It's a lighter, quicker alternative that's perfect for spooning over pancakes, waffles, yogurt, oatmeal, cheesecake, or vanilla ice cream.
Ways to enjoy the Plum Jam
This plum jam is made for slow mornings and unhurried kitchen moments, the kind where nothing is rushed and everything feels a little more intentional.
- The classic: Spread thick over warm sourdough, letting it sink into the bread as a generous knob of cold butter slowly melts on top. Simple, rustic, and always the first way it disappears from the jar.
- Breakfast table: Stir through creamy yogurt or a bowl of warm porridge, where the jam loosens into swirls of deep fruitiness and turns an ordinary breakfast into something quietly comforting.
- From the oven: Spoon into cakes, pastries, or small baked treats before or after baking, where it becomes soft, jammy, and slightly caramelised at the edges.
- To share: Spoon into jars and pair with fresh bread or homemade pesto, then wrap it up and pass it on as a small, heartfelt gift straight from your kitchen.
What Makes This Plum Jam Special?
Rather than cooking the fruit until completely smooth, I leave small pieces of plum throughout the jam for a rustic texture that feels unmistakably homemade. Every spoonful is full of soft fruit, giving it more character than a perfectly smooth preserve.
Made without added pectin or preservatives, this recipe relies on the fruit's natural pectin and a slow simmer to create a rich, glossy spread. The result is a beautifully balanced jam that's just as delicious on warm toast as it is swirled through yogurt, baked into pastries, served with cheese, or shared as a homemade gift.
Ingredients
- 1 kg Black or Red Plums
- 118 ml Filtered Water
- 350 g Caster Sugar
- 15 g Fresh Lemon Juice
Directions
- Before You Start Place a small plate in the freezer. You’ll use this later to test if the jam has set.
- Sterilise the Jars Preheat the oven to 130°C (270°F). Wash glass jars and metal lids thoroughly with hot, soapy water (or run them through the dishwasher). Arrange the jars on a baking tray and place them in the oven for at least 20 minutes, until fully dry and hot.
- Prepare the Plums Wash the plums under cold running water. Cut each plum in half and remove the pit. Then cut each half into 3–4 pieces. You can leave the skins on for extra texture and colour, or peel them if you prefer a smoother jam.
- Cook the Plums In a large, heavy-bottomed pot, combine the plums and water. Bring to a gentle boil over medium heat, stirring occasionally. Cover and simmer for 20–25 minutes, until the fruit has softened and started to break down.
- Blend (Optional) Off the heat, For a smoother jam, use an immersion blender to blend to your desired consistency. Alternatively, mash the fruit with the back of a fork. Always do this off the heat, as the jam will be very hot and can splatter.
- Add Sugar & Boil Stir in the sugar and lemon juice until fully dissolved. Increase the heat slightly and bring the mixture to a rolling boil. Cook for 25–30 minutes, stirring frequently to prevent sticking. Since this is a lower-sugar jam, it may take a little longer to thicken.
- Check for Doneness Remove the plate from the freezer and spoon a small amount of jam onto it. Let it cool for a minute, then push it gently with your finger—if it wrinkles, it’s ready. If not, continue cooking for another 5 minutes and test again. Alternatively, use a thermometer—the jam is ready at 104°C (220°F).
- Rest & Fill the Jars Remove the jam from the heat and let it rest for 10 minutes. This helps the fruit distribute evenly. Carefully ladle the hot jam into the sterilised jars, leaving a little space at the top. Wipe the rims clean, then seal tightly with the lids.